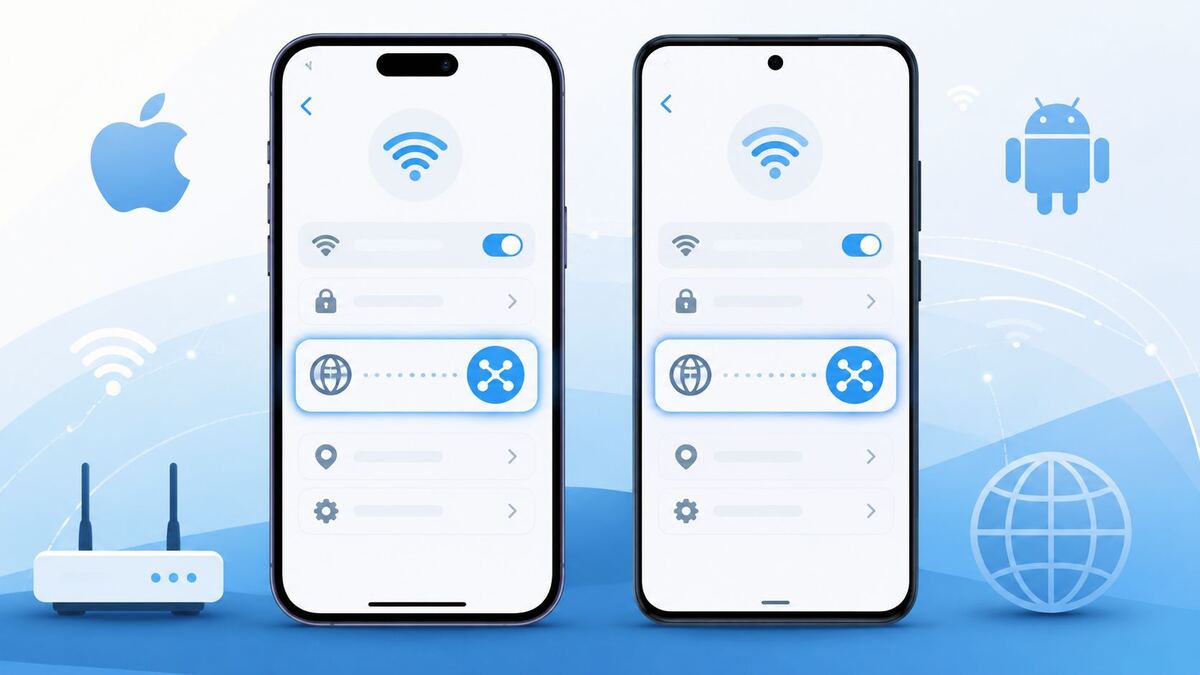
If your videos keep buffering, pages take longer to load than they should, or a site suddenly won’t open, the problem isn’t always your internet plan. It’s often your phone’s DNS settings. Learning how to change DNS server settings on iPhone or Android takes just a couple of minutes and can noticeably improve your browsing speed, privacy, and connection reliability.
This guide covers what DNS actually does, why your phone’s default setting might be holding you back, and how to switch it on both iPhone and Android, including cellular data, no-root Android setups, and the easiest apps to use if you’d rather skip manual steps.
What Is a DNS Server and Why It Matters on Mobile
Every time you type a website address into your phone, something has to translate that name into a numeric address computers can read. That’s the job of a DNS server: it works like the internet’s phone book.
By default, your phone uses whatever DNS server your carrier or Wi-Fi router assigns automatically. These default servers aren’t always fast, and they’re rarely built with privacy in mind. Some carriers even use DNS requests to log browsing activity or serve ads.
Switching to a public DNS server, such as Google DNS or Cloudflare, routes your requests through faster, more secure infrastructure. It’s a small change, but since it happens at the start of every connection your phone makes, the effect adds up across everything you do online.
Signs Your Phone’s DNS Settings May Be Slowing You Down
DNS problems don’t always come with an obvious warning. A few patterns are worth watching for:
- Pages load slower than they do on other devices using the same network
- Some apps work fine on Wi-Fi but not on cellular data, or the reverse
- You get “server not found” errors on sites that are clearly online
- Streaming apps buffer even though a speed test looks normal
- Certain websites are blocked or restricted by your ISP or country
None of these confirm DNS is the cause, but if you notice more than one, it’s worth the couple of minutes it takes to test a different DNS server.
Best DNS Servers to Use on iPhone and Android in 2026
Before making any changes, it helps to know your options. These are the most trusted public DNS providers available right now:
- Google Public DNS (8.8.8.8 and 8.8.4.4): fast, reliable, and widely compatible
- Cloudflare DNS (1.1.1.1 and 1.0.0.1): built around privacy, with no logging of identifiable data
- Quad9 (9.9.9.9): automatically blocks known malicious domains
- OpenDNS (208.67.222.222 and 208.67.220.220): useful for basic content filtering and family-safe browsing
For most people, Cloudflare or Google DNS is the safest place to start. If you want built-in security filtering without installing anything extra, Quad9 is worth trying instead.
How to Change DNS Server on iPhone (Wi-Fi Settings)
Here’s how to change DNS server settings on an iPhone connected to Wi-Fi:
- Open Settings and tap Wi-Fi
- Tap the blue (i) icon next to your connected network
- Scroll down and tap Configure DNS
- Switch from Automatic to Manual
- Tap Add Server and enter your preferred DNS address (for example, 1.1.1.1)
- Add a second server as backup (1.0.0.1), then tap Save
This change applies only to the Wi-Fi network you’re currently connected to. If you join a different network later, you’ll need to repeat these steps for that one too.
Quick Check
Once saved, load a website in Safari or another browser. If it opens normally, the change was applied successfully.
How to Change DNS Server on iPhone Using Cellular Data
Changing DNS over Wi-Fi is straightforward, but iOS doesn’t include a built-in manual option for cellular data. Apple restricts direct DNS changes on cellular connections for security reasons.
The workaround is a DNS profile or a DNS-changing app that supports encrypted DNS over cellular:
- Download a reputable DNS app, such as the official Cloudflare 1.1.1.1 app
- Open the app and select your preferred DNS provider
- Toggle the connection on. This creates a secure, VPN-style profile that routes DNS requests through your chosen server
- Confirm the connection status shows as active in the app
This method works over both Wi-Fi and cellular data, making it a good option if you want one consistent DNS setting everywhere you go.
How to Change DNS Server on Android via Wi-Fi Settings
Most modern Android phones let you change DNS directly through system settings, no app required:
- Open Settings and go to Network & Internet
- Tap Private DNS (on some phones, this sits under Advanced or More connection settings)
- Select Private DNS provider hostname
- Enter a hostname such as
dns.googleor1dot1dot1dot1.cloudflare-dns.com - Tap Save
This uses DNS-over-TLS, which encrypts your DNS requests for added privacy. It applies across both Wi-Fi and mobile data automatically, an advantage Android has over iPhone’s native settings.
Changing DNS Settings on Android Without Root Access
You don’t need to root your Android phone to change DNS. The Private DNS method above works on any unrooted device running Android 9 or later. Rooting is only necessary if you want to override DNS at the system level for individual apps, which most users never need.
If your phone is older or the Private DNS option isn’t available in your settings menu, you have two other options:
- Change DNS manually on a per-network basis through Wi-Fi settings: tap and hold the network, select Modify, switch IP settings from DHCP to Static, and enter your DNS addresses
- Use a DNS-changing app instead, which works regardless of Android version
Using a DNS Changer App for Easier Setup on Mobile
If manual settings feel like too much, a dedicated app handles everything with a single toggle. This is especially useful for changing DNS over cellular data on iPhone, where manual options are limited.
A few trustworthy choices:
- Cloudflare 1.1.1.1: free, simple, and works on both iOS and Android
- Google Public DNS setup guides, built into some Android device settings menus
- DNSCloak or similar apps, for advanced users who want DNS-over-HTTPS
Stick to apps from well-known DNS providers. Avoid random third-party “DNS booster” apps, since some log or resell browsing data instead of protecting it.
How to Confirm Your New DNS Settings Are Working
After changing your DNS server, it’s worth checking that the change actually took effect:
- Open a browser and visit a DNS leak test site
- Check the DNS server shown in the results. It should match the provider you just set, such as Cloudflare or Google, instead of your carrier’s name
- Or open your phone’s network settings again and confirm the manual DNS entry is still showing correctly
If the results still show your old provider, restart your phone or toggle Wi-Fi off and on to force the new setting to apply. Note that browser-level settings can differ too — your phone’s system DNS and your browser’s DNS configuration aren’t always the same, so it’s worth checking both if something still feels off.
Common DNS Change Issues and How to Fix Them
A few issues come up often enough to be worth knowing in advance.
Websites won’t load after the change Double-check the DNS address you entered. A single typo in the numbers will break the connection entirely.
Setting reverts on its own This usually happens when you connect to a different Wi-Fi network, since manual DNS settings on iPhone are tied to individual networks.
Private DNS option is grayed out on Android Some carrier-locked or older Android devices restrict this setting. Try the static IP method or a DNS app instead.
Slower speeds after switching Not every DNS server performs equally well in every region. Cloudflare and Google DNS both run servers worldwide, so performance issues are uncommon, but if one provider feels slow, try another. If slow speeds persist across devices, our DNS lookup troubleshooting guide covers deeper fixes like cache flushing and router firmware updates.
Should You Switch Back to Default DNS Settings?
Once you’ve moved to a faster, more private DNS provider, there’s usually little reason to switch back. The main exceptions:
- You’re troubleshooting a network issue and want to rule out DNS as the cause
- Your workplace or school network requires the default DNS for internal tools to function
- A specific app or service stops working correctly and reverting fixes it
To switch back, return to the same settings menu and select Automatic (iPhone) or Off (Android Private DNS) to restore the default configuration.
FAQs
Does changing DNS server settings slow down my phone?
No. If anything, it usually speeds things up. Public DNS providers like Cloudflare and Google are optimized for fast response times, often faster than a default carrier DNS.
Is it safe to change DNS on my iPhone or Android?
Yes. Changing DNS only affects how your device looks up website addresses, not how your data is transmitted otherwise. Stick to reputable providers like Google, Cloudflare, or Quad9.
Will changing DNS server settings unblock restricted websites?
Sometimes. If a site is blocked at the DNS level by your ISP or network administrator, switching DNS can bypass that specific restriction. It won’t bypass blocks enforced at other network layers.
Does changing DNS affect my data usage?
No. DNS lookups use a negligible amount of data, so you won’t notice any difference in your monthly usage.
Can I use different DNS servers for Wi-Fi and cellular data?
Yes, especially on iPhone, where Wi-Fi and cellular DNS are configured separately. You can use one provider for Wi-Fi and a DNS app for cellular.
Do I need to change DNS on every Wi-Fi network I connect to?
On iPhone, yes; manual DNS settings apply per network. On Android, the Private DNS setting applies globally across all networks once configured.
Conclusion
Knowing how to change DNS server settings on your iPhone or Android device is a small change with a real payoff: faster load times, fewer connection errors, and better privacy, all in a couple of minutes. Whether you set it manually through Wi-Fi settings or use an app for full coverage on cellular data too, pick a trusted provider like Cloudflare or Google DNS and you’re set.