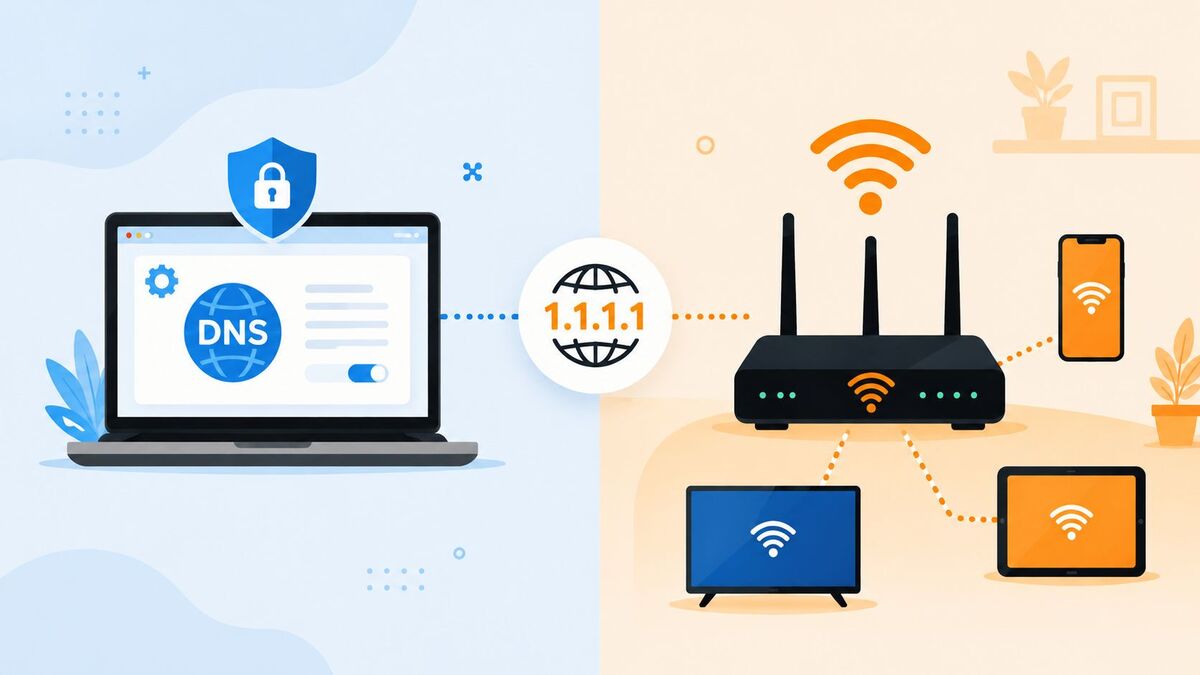
If you’ve opened Chrome’s settings and noticed something called “Secure DNS,” you may have wondered: which DNS is default in Chrome, and isn’t that something my computer handles, not my browser?
It’s a common point of confusion. Chrome doesn’t work quite the way most people assume. This guide explains exactly which DNS Chrome uses by default, how that connects to your operating system, what Secure DNS does, and how to check or change your settings in under a minute.
Which DNS Is Default in Chrome?
Chrome doesn’t have its own default DNS provider. By default, it uses whatever DNS server your operating system is already configured to use, which is typically the one assigned automatically by your internet provider (ISP).
So if you haven’t changed anything on your computer or router, Chrome is almost certainly using your ISP’s DNS servers, the same as every other app on your device.
Where it gets more interesting is a feature called Secure DNS, which Chrome enables automatically in many cases. This doesn’t replace your DNS provider. Instead, it tries to upgrade your existing DNS connection to a more secure, encrypted version, if that provider supports it.
Does Chrome Use Its Own DNS or Your System’s Settings?
Chrome is a browser, not a network utility. It relies on your device’s network stack to resolve domain names. When you type “google.com” into the address bar, Chrome asks your operating system for the matching IP address. Your OS then reaches out to whatever DNS server is configured, whether that’s:
- Your router’s default settings, usually forwarded from your ISP
- A manually configured DNS server, such as 8.8.8.8 or 1.1.1.1
- A DNS server pushed by your workplace or school network
Chrome uses whatever answer it gets back. It doesn’t independently choose a DNS provider unless Secure DNS steps in, and even then, it works with your existing setup rather than replacing it outright.
What Is Secure DNS (DNS-over-HTTPS) in Chrome?
Secure DNS is Chrome’s built-in privacy feature, and it’s the main reason this topic feels more complicated than it needs to be.
Normally, DNS requests are sent in plain text, which means your ISP or anyone monitoring the network can see every website you’re about to visit, even before the page loads. Secure DNS addresses this by encrypting those requests using a protocol called DNS-over-HTTPS (DoH).
Chrome doesn’t switch you to a different DNS provider when Secure DNS is on. Instead, it checks whether your current provider supports DoH. If it does, Chrome upgrades the connection to the encrypted version of that same provider. If your provider doesn’t support DoH, Chrome either leaves your DNS as is or lets you manually pick a different provider from a built-in list, including:
- Google Public DNS
- Cloudflare (1.1.1.1)
- CleanBrowsing
This feature has been on by default for most users since it rolled out, but it runs quietly in the background, which is why many people don’t notice it until they go looking. Google covers this in more depth in its official Secure DNS documentation.
How to Check Your Current DNS Settings in Chrome
To see your current setup:
- Open Chrome and go to
chrome://settings/security - Scroll to the Advanced section
- Look for Use secure DNS
You’ll see one of two states:
- “With your current service provider” means Chrome is using an encrypted version of your existing DNS
- “With [Provider Name]” means you’ve manually selected a specific provider, like Google or Cloudflare
If the toggle is off, Chrome is using standard, unencrypted DNS exactly as provided by your operating system.
Which DNS Is Default in Chrome on Windows and Mac?
The behavior is the same across operating systems. Chrome doesn’t treat Windows and Mac differently when it comes to DNS defaults.
On both platforms, Chrome pulls DNS settings from the OS-level network configuration, performs Secure DNS checks the same way, and shows the same settings page at chrome://settings/security.
The difference is how you’d change your system-level DNS if you wanted to, since that happens outside Chrome. On mobile, the steps look a bit different too — see our full DNS setup guide for iPhone and Android.
- Windows: Network & Internet settings → adapter properties → DNS server addresses
- Mac: System Settings → Network → Wi-Fi/Ethernet details → DNS tab
As far as Chrome is concerned, the logic is identical on both.
Why Chrome’s Default DNS Setting Affects Privacy and Speed
This isn’t just a technical detail. Your DNS setup has real, noticeable effects.
Privacy: Without encryption, your ISP can log every domain you visit, even if the page content itself is secured with HTTPS. Secure DNS closes that gap.
Speed: Not all DNS providers respond equally fast. Some ISP-provided servers are slower than public alternatives like Cloudflare, which is often cited as one of the fastest public DNS options available. If pages feel sluggish even with a fast internet connection, it could be a slow DNS lookup rather than a bandwidth issue.
Reliability: Public DNS providers tend to have better uptime than smaller or regional ISP DNS servers.
Content filtering: Some providers, like CleanBrowsing, offer built-in filtering for malicious or adult content, which can be useful for family setups.
Your current default DNS works fine for most everyday browsing, but if privacy or speed matters to you, it’s worth knowing your options.
Common DNS Providers You Can Switch To in Chrome
If the default setup isn’t enough, Chrome makes switching simple. A few widely used options:
- Google Public DNS (8.8.8.8 / 8.8.4.4): reliable and backed by Google’s infrastructure
- Cloudflare (1.1.1.1 / 1.0.0.1): privacy-focused and consistently one of the fastest public DNS services
- CleanBrowsing: built-in content filtering, useful for households with kids
- Quad9 (9.9.9.9): blocks known malicious domains automatically
Each of these supports DNS-over-HTTPS, so switching through Chrome’s Secure DNS settings gets you both the provider and the encryption benefit at once.
How to Change Your DNS Provider in Chrome
- Go to
chrome://settings/security - Scroll to Use secure DNS
- Turn the toggle on
- Select With and choose a provider from the dropdown, or enter a custom one
- Restart Chrome to apply the change
This only affects Chrome, not other apps or browsers on your device. If you want the new DNS to apply system-wide, update it separately in your OS or router settings.
Troubleshooting Chrome’s DNS Settings
Secure DNS option is greyed out. This usually happens on managed devices, such as school laptops or work computers with enterprise policies that lock DNS settings.
Chrome keeps reverting to “current service provider.” This is normal if your chosen provider becomes temporarily unreachable. Chrome falls back to your default DNS to keep browsing working.
Websites won’t load after switching providers. Clear Chrome’s DNS cache at chrome://net-internals/#dns by clicking “Clear host cache,” or restart the browser.
Results differ across networks. This is expected, since DNS settings can vary between home Wi-Fi, mobile data, and public networks, especially when Secure DNS follows “your current provider.”
FAQs
Does Chrome use Google DNS by default?
No. Chrome uses your system’s configured DNS unless you manually select Google Public DNS in the Secure DNS settings.
Is Chrome’s default DNS the same as my router’s DNS?
Usually yes. Your router typically forwards DNS requests to your ISP unless you’ve configured it otherwise.
Does Secure DNS slow down browsing?
Generally no. The difference is usually unnoticeable, and switching to a fast provider like Cloudflare can sometimes speed things up.
Can Chrome use a different DNS than the rest of my computer?
Yes. Chrome’s Secure DNS setting only affects Chrome, so you can run a different provider in your browser than your system uses elsewhere.
Is it safe to change my DNS provider in Chrome?
Yes. Switching between established providers like Google, Cloudflare, or Quad9 is safe and reversible anytime through the same settings page.
Conclusion
Which DNS is default in Chrome? In most cases, it’s simply whatever your operating system and ISP already have configured. Chrome doesn’t override that unless Secure DNS steps in to encrypt the connection with your existing provider or one you’ve chosen manually.
Knowing this matters because it affects your privacy, your browsing speed, and how much control you have over your online activity. Checking your setup takes less than two minutes: open chrome://settings/security and see what’s currently running.