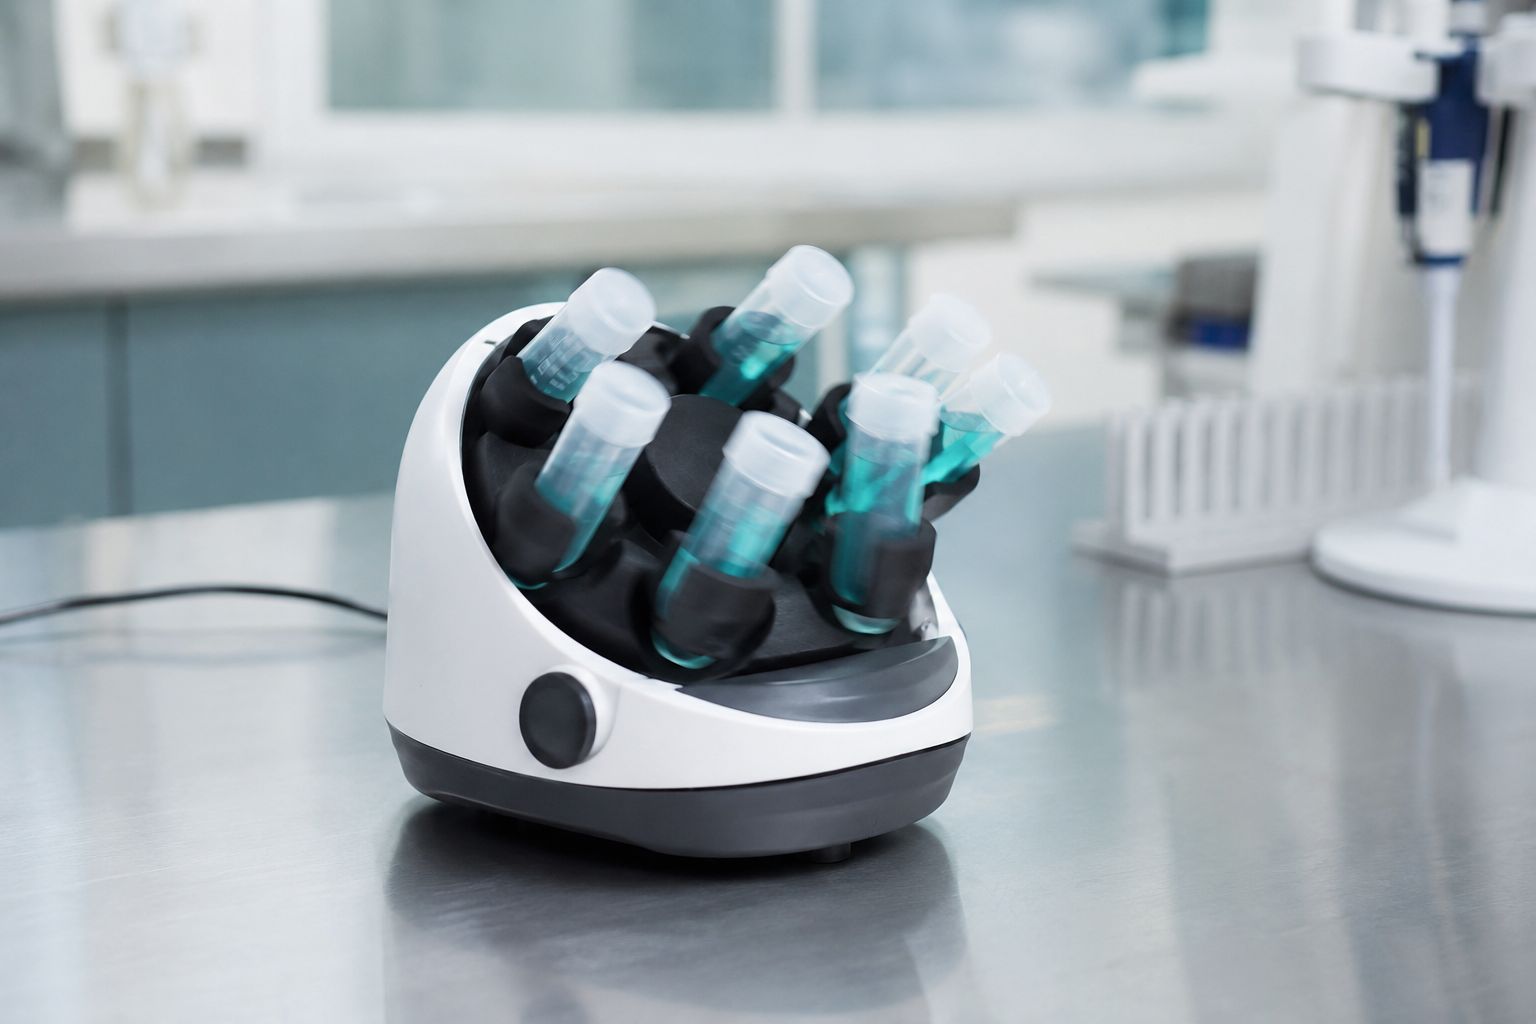
Blood banks and diagnostic labs rely on equipment that keeps samples properly mixed without damaging them. The Southwest Science MiniMixer 3D Mixer Shaker is built for exactly that job. It moves tubes in a rotating, multi-directional pattern instead of a simple back-and-forth shake, which helps keep blood samples, reagents, and cell suspensions evenly mixed during testing and prep.
This guide covers what the mixer is, how its 3D motion works, where it’s used, and how to set it up and maintain it properly.
What Is the Southwest Science MiniMixer 3D Mixer Shaker?
The MiniMixer 3D is a compact benchtop mixer made by Southwest Science, part of their line of nutating 3D mixers built for blood banking and laboratory use. Unlike standard vortex mixers that move in one direction, this device tilts and rotates samples on multiple axes at once.
That motion makes it well suited for mixing blood samples, reagents, and other liquids that need to stay homogenized without being agitated too aggressively. It’s commonly used in:
- Blood banks and transfusion labs
- Diagnostic and clinical laboratories
- Research facilities handling biological samples
- Hospital labs running routine sample prep
Key Features of This 3D Orbital Lab Mixer
A few design choices set the MiniMixer 3D apart from a standard shaker:
- True 3D motion: tubes rotate and tumble rather than moving side to side
- Compact footprint: fits on crowded lab benches without taking up much space
- Quiet operation: suitable for shared lab environments
- Adjustable speed control: matches mixing intensity to sample type
- Secure tube holders: hold different tube sizes without slipping
These features affect result consistency directly, which matters in clinical and diagnostic work where accuracy isn’t optional.
How the 3D Mixing Motion Works
The mixing process follows a simple sequence:
- Load the sample: tubes go into the holder or platform
- Start the motion: the platform rotates on multiple axes at once
- Tumbling action: samples tilt and rotate continuously, similar to a rotisserie motion
- Even redistribution: constant repositioning keeps particles or cells from settling
- Set duration: mixing runs for a fixed time or until manually stopped
This pattern reaches all sides of the sample evenly, which flat orbital or single-axis shakers often can’t match.
Technical Specifications and Performance
Specifications vary slightly by model year, but most MiniMixer 3D units share a similar profile:
- Adjustable rotation speed (RPM)
- Multiple tube capacity, depending on holder configuration
- Compact dimensions for standard lab benches
- Standard electrical input compatible with most lab setups
- Continuous-duty motor built for daily use
Southwest Science designed the mixer for reliability over long shifts rather than raw speed, which fits its use in clinical settings.
Common Uses in Blood Banking and Lab Settings
The MiniMixer 3D is built for specific applications, which explains why the 3D motion matters:
- Blood sample mixing: keeps red blood cells evenly suspended before testing
- Reagent preparation: keeps chemical reagents properly blended
- Cell suspension work: resuspends cells gently without damage
- Routine diagnostic prep: maintains sample consistency before analysis
In blood banking, uneven mixing can lead to inaccurate test results, which is the exact risk this mixer is designed to reduce.
Setting Up the Southwest Science MiniMixer 3D Mixer Shaker
Setup is simple, but a few basics improve performance and lifespan:
- Place the unit on a flat, stable surface away from vibration sources
- Power on the device and let it initialize
- Load tubes securely into the holder slots
- Select a speed setting based on sample type
- Start the cycle and monitor the first few runs for smooth operation
Once you know your sample types, you’ll settle into a consistent speed and duration routine.
Speed, Timer, and Control Settings
The mixer gives users practical control over the process:
- Speed settings adjust rotation intensity, lower for delicate samples and higher for thicker liquids
- Timer functions (on models that include them) set a fixed mixing duration automatically
- On/off controls are simple and easy to use, even with gloved hands
Not every sample needs the same treatment. A fragile cell suspension and a standard reagent bottle call for different settings, and this mixer allows that flexibility.
Maintenance and Cleaning Best Practices
Regular care keeps the mixer performing consistently:
- Wipe down the exterior and tube holders with an approved lab disinfectant
- Check tube holders periodically for cracks or looseness
- Avoid loading beyond the rated tube capacity
- Keep the unit away from excess moisture or spills
- Schedule periodic motor performance checks
A few minutes of routine cleaning extends the mixer’s working life and keeps results accurate.
Benefits of Using a 3D Rotator Mixer in Labs
Compared to simpler alternatives, this type of mixer offers:
- More even mixing than single-direction shakers
- Gentler handling for sensitive biological samples
- Lower risk of sample settling during longer mixing periods
- A compact, space-efficient design
- Consistent, repeatable results across uses
For labs where accuracy affects patient outcomes, these are meaningful advantages in daily use.
Troubleshooting Common MiniMixer 3D Shaker Issues
A few common issues and quick first steps:
- Uneven mixing: check that tubes are loaded evenly and holders aren’t overloaded
- Unusual noise: inspect for loose components or debris near the motor
- Mixer won’t power on: confirm the power connection and check for tripped circuits
- Tubes shifting during use: verify the holder size matches your tube type
Most issues are minor and easy to resolve. Persistent problems should go to your equipment supplier or manufacturer support.
Southwest Science MiniMixer 3D Mixer Shaker vs Similar Models
Compared to other lab shakers, the MiniMixer 3D stands out mainly for its multi-directional movement:
- Vs. flat orbital shakers: reaches sample edges more evenly instead of relying on centrifugal spread
- Vs. simple vortex mixers: offers gentler, more controlled mixing for sensitive samples
- Vs. larger industrial mixers: better suited for smaller-scale clinical and diagnostic work than bulk processing
The right choice depends on your lab’s sample types and volume, but for blood banking and diagnostic work, the 3D motion gives a clear practical edge.
FAQs
What is the Southwest Science MiniMixer 3D Mixer Shaker used for?
It’s used in blood banks and diagnostic labs to keep blood samples, reagents, and cell suspensions evenly mixed without damaging sensitive components.
How is 3D mixing different from regular shaking?
Regular shakers usually move in one direction. 3D mixing tilts and rotates samples on multiple axes, reaching all sides of the sample more evenly.
Is the MiniMixer 3D suitable for delicate samples?
Yes. Its gentle tumbling motion is designed to avoid damaging fragile cells or biological material during mixing.
How often should the mixer be cleaned?
Wipe it down after each use and do a deeper clean with holder inspections on a regular schedule.
Can speed settings be adjusted for different samples?
Yes. Most models let you adjust speed to match the mixing intensity to the sample type.
Conclusion
The Southwest Science MiniMixer 3D Mixer Shaker solves a simple but important problem: keeping lab samples evenly mixed without compromising their integrity. Its 3D motion, adjustable controls, and compact design make it a practical, reliable choice for blood banking and everyday lab work.
Whether you’re evaluating new lab equipment or learning how the mixer already on your bench works, the key takeaway is this: even, gentle, multi-directional mixing matters more than it might seem, and it’s exactly what this device is built to deliver.
Read more: Convelar LED Surgical Lights: Key Features Explained